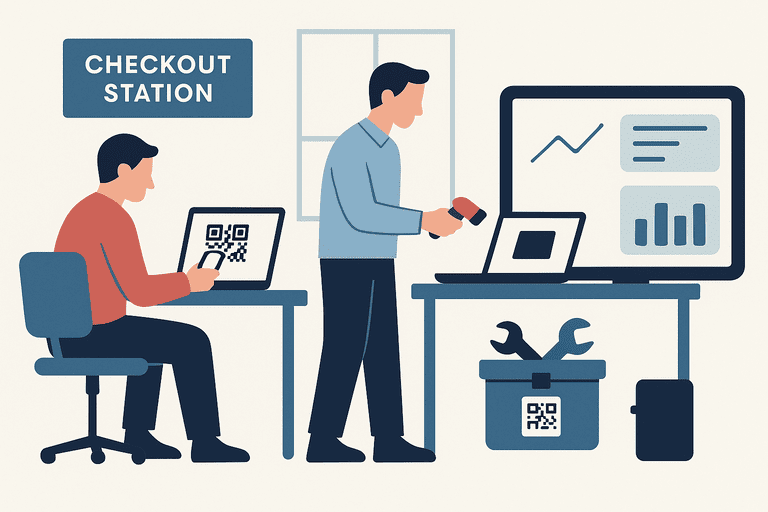
The Ultimate Guide to Equipment Checkout Systems
Discover how equipment checkout systems work, why businesses need them, and how to implement one for better accountability and efficiency.

Introduction
If your business shares tools, laptops, or other equipment, you’ve probably experienced the pain of lost items, missing records, and frustrated staff. Paper sign-out sheets or casual verbal agreements just don’t cut it anymore.
That’s where an equipment checkout system comes in. These systems track who is using what, when it’s due back, and how assets move within your organization.
This guide covers everything you need to know about equipment checkout systems — what they are, why they matter, and how to implement one step by step.
What Is an Equipment Checkout System?
An equipment checkout system is a process or tool that records the lending and returning of assets.
Instead of relying on a notebook or sticky notes, a proper system helps you:
- Assign items to employees, teams, or members
- Track usage history
- Prevent losses and accountability gaps
- Automate reminders for overdue returns
Modern systems are usually software-based, supported by QR codes or barcodes for quick scanning.
Common Problems Without a Checkout System
Businesses that don’t use proper checkout processes often face:
- Lost equipment — nobody knows who took it last.
- Duplicate purchases — buying new items when existing ones are misplaced.
- Frustrated staff — wasted time hunting for tools or laptops.
- Accountability gaps — no audit trail in case of damage or loss.
- Insurance and compliance risks — incomplete tracking makes claims harder.
In short, no system = chaos.
How Equipment Checkout Systems Work
Here’s a typical workflow:
- User scans or requests an item (via QR code, barcode, or digital form).
- System records the checkout — who took it, when, and for what purpose.
- Asset is marked as “in use” in the database.
- User returns the item — scanning it back in or confirming return.
- System logs the history and updates availability.
Key Features of a Good Equipment Checkout System
1. Simple Check-In/Out
- QR or barcode scanning makes it fast.
- Cloud-based systems update in real time.
2. User Accountability
- Each checkout is tied to a specific person.
- Usage history prevents blame-shifting.
3. Notifications & Alerts
- Automated reminders for overdue returns.
- Notifications for upcoming maintenance.
4. Reporting & Analytics
- Who uses what most often.
- Which equipment is underutilized.
- Cost trends and depreciation tracking.
5. Integration
- Connect with HR or accounting tools.
- Sync with Slack/Teams for notifications.
Step-by-Step Guide to Implementing an Equipment Checkout System
Step 1: Identify Your Equipment
- Laptops, tablets, projectors, tools, or vehicles.
- Exclude consumables (e.g., paper, pens).
Step 2: Decide on Tracking Technology
- Barcodes → low-cost, good for simple IDs.
- QR codes → store richer data, easier scanning.
- RFID → for large-scale, automated tracking.
Step 3: Choose Your System
Options include:
- Spreadsheets (Google Sheets) → cheap, but prone to error.
- Dedicated software (like InvyMate) → robust, includes QR code tracking, mobile apps, and reporting.
- Custom enterprise solutions → expensive, for large organizations.
Step 4: Label All Equipment
- Apply durable labels in visible places.
- Use tamper-proof or laminated stickers for longevity.
Step 5: Train Your Team
- Demonstrate scanning and returning.
- Emphasize responsibility policies.
Step 6: Launch and Monitor
- Run audits weekly or monthly.
- Use reports to spot missing or underused items.
Benefits for Businesses
1. Reduced Losses
Every item is traceable, cutting down on “disappearing” equipment.
2. Improved Efficiency
No more wasted time searching for tools or laptops.
3. Data-Driven Decisions
Know which items are worth investing in, and which can be retired.
4. Better Compliance
Auditors and insurers love clear, documented processes.
5. Cost Savings
Prevent duplicate purchases and extend equipment lifespan with scheduled maintenance.
Example: Equipment Checkout in a Coworking Space
Imagine a coworking space with 100 members sharing 20 projectors, 50 laptops, and 10 cameras. Without a system: chaos.
With asset management system:
- Members scan a QR code to borrow an item.
- The system logs who has it.
- Reminders are sent if overdue.
- The admin can view usage reports anytime.
Best Practices & Tips
- Set rules: e.g., maximum borrowing duration.
- Use mobile apps: Staff can check items in/out anywhere.
- Automate alerts: Reminders save time for admins.
- Run regular audits: Even the best system needs checks.
- Integrate policies: Include checkout rules in employee handbooks.
Common Mistakes to Avoid
- Using spreadsheets too long → doesn’t scale.
- Not labeling equipment properly → slows scanning.
- Ignoring overdue returns → leads to accountability issues.
- Forgetting training → adoption fails if users don’t understand it.
Conclusion
An equipment checkout system isn’t just about keeping things organized — it’s about saving money, improving accountability, and enabling smoother operations.
Whether you run a small business, coworking space, or educational institution, the right system will transform how your team shares resources.
👉 Ready to streamline your equipment checkout process? Try InvyMate today — the smart, QR-powered solution for managing shared tools and assets.