Technology
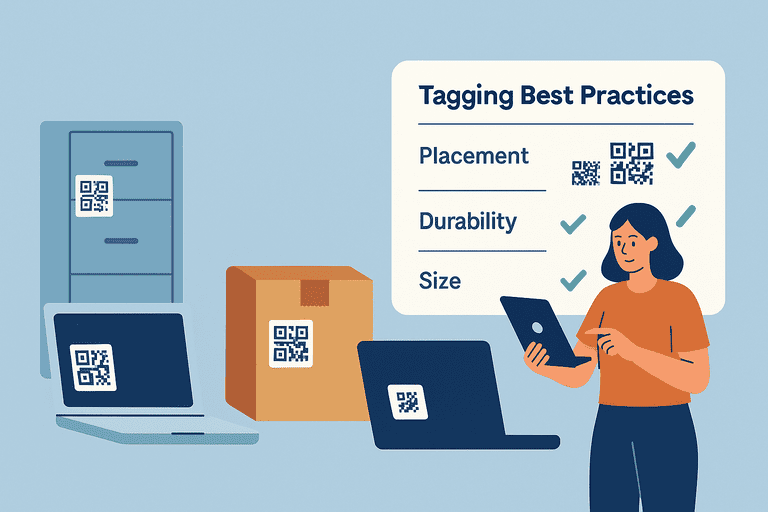
QR Code Tag Placement, Durability, and Size for Teams
Physical QR label guide covering placement, materials, and size so asset tags stay scannable and durable across environments.
Make this the physical-label engineering page for QR assets, not the small-team laptop workflow page.
- QR Code Inventory Tracking Hub · hub overview
- IT Asset Tagging Best Practices for Small IT Teams · related article
- Barcode vs QR Code Tracking: Setup Guide for Small Teams · related article
- Mobile Inspections: How QR Codes Speed Up Field Work · related article
Audience: Teams choosing tag material, QR size, and placement across environments
QR Code Asset Tracking Guide · guide
QR Label Configuration · feature page
Learn how to choose the right QR code placement, material, and size so your asset labels stay scannable and durable across office, industrial, vehicle, and facility environments.
Introduction
QR codes are the backbone of modern asset tracking — fast to scan, flexible to use, and easy to generate.
But even the best tagging system fails if your codes fade, peel, or become unreadable after a few months.
Proper placement, durability, and size decisions determine whether your QR tracking system thrives or causes frustration for your team.
This page is the physical label guide for QR tags across different environments. If you need a narrower workflow for small IT teams tagging laptops and peripherals, use: IT Asset Tagging Best Practices for Small IT Teams (Laptop + Peripheral QR Guide).
1. Why QR Tagging Quality Matters
A tagging system is only as strong as its weakest label.
When QR codes:
- fade under sunlight,
- peel off under heat or cleaning, or
- get placed where scanners can’t easily reach,
you lose traceability, audit accuracy, and staff confidence.
A good tag should:
- stay readable for 3–5 years minimum,
- resist environmental wear,
- and be accessible to both scanners and humans.
If your team keeps skipping scans because tags are hard to find or read, it usually shows up as missing check-ins/outs; tightening the flow can help: Designing an Asset Checkout Flow UX That Works.
2. Choosing the Right Tag Material
Not all tags are created equal.
Material choice depends on where and how assets are used.
| Environment | Recommended Material | Notes |
|---|---|---|
| Office / Indoor | Vinyl or laminated polyester | Affordable, good for laptops and monitors |
| Industrial / Workshop | Anodized aluminum or polycarbonate | Heat and solvent resistant |
| Outdoor / Vehicles | UV-resistant aluminum or stainless steel | Long-lasting under sunlight and weather |
| Medical / Cleanrooms | Chemical-resistant polyester | Tolerates disinfectants and frequent cleaning |
👉 Tip: Choose tags with protective lamination to prevent scratches and fading over time.
3. Optimal QR Code Size
QR code size affects both scanning distance and accuracy.
| Asset Type | Recommended QR Size | Scanning Distance |
|---|---|---|
| Small devices (mice, phones) | 10–15 mm | Up to 10 cm |
| Medium assets (laptops, chairs) | 20–25 mm | Up to 50 cm |
| Large equipment (printers, racks) | 30–40 mm | 0.5–1 m |
| Outdoor / vehicles | 50–100 mm | 1–3 m |
Formula for minimum readability:
QR code size (mm) = scanning distance (mm) / 10
Avoid printing codes too small — even a 1 mm blur can make them unreadable on dusty or reflective surfaces.
4. Tag Placement: Accessibility Meets Protection
The best placement is a balance between visibility and protection.
✅ Best practices:
- Place tags where staff can easily reach and scan.
- Avoid curved, rough, or hot surfaces.
- Use consistent placement across similar assets (e.g., top-right of laptops, front-left of chairs).
- For vehicles or movable assets, prefer vertical flat surfaces away from impact zones.
❌ Avoid:
- Undersides or hidden corners (hard to scan).
- Moving parts or heat vents.
- Areas that get regular friction or cleaning.
Pro tip: For fixed installations (like conference tables), apply two tags — one visible and one backup hidden for maintenance checks.
If your main assets are employee laptops and docks rather than mixed physical environments, the more targeted workflow is here: IT Asset Tagging Best Practices for Small IT Teams.
5. Ensuring Long-Term Durability
Tag wear is inevitable — but it can be minimized.
Key techniques:
- Protective overlays: transparent laminates prevent scratches.
- Adhesive selection: permanent acrylic adhesives handle temperature and humidity better than rubber-based ones.
- Curved surfaces: use flexible polyester tags.
- High-traffic assets: mount tags slightly recessed or use riveted metal plates.
Before full rollout, test your tags:
- Print several samples.
- Apply them to different surfaces.
- Test scan weekly for 1 month.
- Evaluate readability, adhesion, and resilience.
To make sure the team actually logs issues when a tag fails, set up reminder + escalation rules for overdue returns and unresolved “needs re-tag” tasks: Inventory Notifications and Escalation Workflows.
6. Balancing Branding and Readability
Adding logos or color is fine — as long as it doesn’t interfere with scanning.
Best practices:
- Keep QR contrast high (dark code on light background).
- Leave at least 4 mm quiet zone (white space) around the code.
- Avoid printing over metallic or glossy finishes.
If you include text (e.g., asset ID or company name), print below the QR, not inside it.
7. Maintenance and Replacements
Even durable tags degrade eventually.
Set a replacement policy:
- Inspect tags during regular audits.
- Replace any tag with >10% surface wear.
- Keep spare tags and a log of replacements.
Use audit software or checklists to flag damaged or unreadable codes automatically.
To standardize inspections (including “tag readable?”) and keep replacement cadence consistent, use: Inventory Audit Checklist: What to Verify and How Often.
8. Summary Checklist
✅ Use materials suited to environment
✅ Keep QR size ≥2 cm for most office assets
✅ Maintain contrast and quiet zone
✅ Place tags consistently and visibly
✅ Replace worn or faded tags
✅ Avoid shiny or curved surfaces
✅ Test before mass deployment
These details ensure your QR code tagging system works smoothly in the long run, saving time and preventing data loss.
Conclusion
Physical tag quality is an engineering choice as much as an operational one. If placement, material, and sizing are wrong, every downstream workflow gets slower.
Proper tag placement, durable materials, and optimal sizing mean every scan is more likely to succeed over the full life of the asset.
For small-team rollout rules around naming, kits, and verification cadence, pair this guide with IT Asset Tagging Best Practices for Small IT Teams.
Related reading
- NFC vs QR Code Tracking: Which Is Better for Your Business?
- Step-by-Step Guide to Implementing Barcode vs QR Code Tracking
- How QR Code Tagging Revolutionizes Inventory Tracking
- The Power of Mobile Inspections — How QR Codes Speed Up Field Work
- Self-Service Kiosks for Asset Checkout in Shared Spaces
Methodology
- This page was reviewed as the physical-label guide for QR tags, focusing on placement, size, material selection, and durability across different environments.
- It is intentionally broader than the small-team IT asset tagging workflow page and should be used for label-engineering decisions rather than laptop-only process design.
References
Try InvyMate
Start tracking assets with QR codes and scheduled audits.