Industries
Managing Shared Tools in Workshops and Makerspaces
Best practices for managing shared tools in workshops and makerspaces—QR labeling, availability tracking, and maintenance logs.
Learn how to manage shared tools in workshops and makerspaces with smart inventory systems to improve accountability and reduce losses.
Introduction
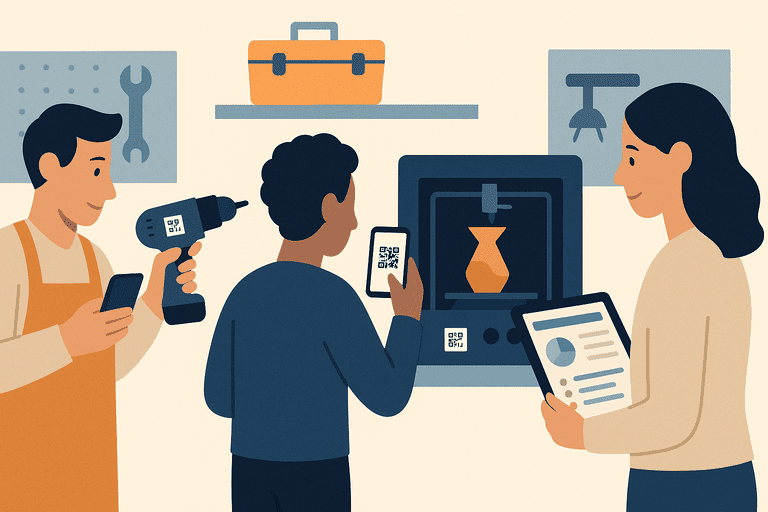
Workshops and makerspaces thrive on collaboration. Members share drills, 3D printers, saws, soldering irons, and other valuable tools. But with dozens of people using the same resources, one challenge always emerges: keeping track of who is using what and ensuring everything is returned in good condition.
Without a system in place, tools go missing, equipment breaks without accountability, and members waste time searching for the right items.
This article explores how to manage shared tools in workshops and makerspaces effectively, using best practices and modern tracking tools.
Why Shared Tool Management Is Essential
Makerspaces and workshops are built on trust, but trust alone doesn’t prevent issues such as:
- Lost tools — small items like screwdrivers or wrenches often vanish.
- Broken equipment — without logs, nobody takes responsibility.
- Downtime — members wait for tools because usage isn’t tracked.
- Budget strain — frequent replacements increase costs.
A proper tool management system keeps resources available, reduces costs, and ensures fairness among members.
What Should Be Tracked in Makerspaces?
Key categories include:
- Power tools (drills, saws, grinders).
- Hand tools (wrenches, screwdrivers, pliers).
- Specialized equipment (3D printers, CNC machines, laser cutters).
- Consumables (solder, filaments, sandpaper, adhesives).
👉 See how coworking-style environments benefit from tracking in our article on How Coworking Spaces Track Furniture, Electronics, and Supplies.
If accountability is the main issue, start with the underlying workflow problem (clear ownership + usage history): Why Shared Inventory Fails Without Accountability (and How to Fix It).
Tools for Managing Shared Equipment
1. QR Code & Barcode Tracking
- Label every tool, from small wrenches to large machines.
- Members scan codes when borrowing and returning.
- Works with inexpensive labels and smartphone apps.
2. Inventory Management Software
- Software like InvyMate tracks all shared tools in a central dashboard.
- Logs who borrowed each item and when it’s due back.
- Generates usage and maintenance reports.
3. Check-In/Out Stations
- A dedicated kiosk or tablet at the tool room.
- Members scan items before taking them out.
4. Access Control (Advanced)
- RFID or smart locks for high-value tools like 3D printers or CNC machines.
- Access restricted to trained or certified members.
Small-Team Software Evaluation Block
If your makerspace is run by a small operations/IT team, evaluate tools with these criteria first:
| Evaluation point | What to check | Why it matters for small teams |
|---|---|---|
| Checkout speed | Can members scan and borrow in seconds? | Slow flows cause skipped checkouts and data drift |
| Accountability history | Can you see who had each tool and when? | Prevents disputes and shortens incident resolution |
| Maintenance visibility | Are service logs tied to each tool record? | Reduces downtime for high-value machines |
| Setup overhead | Can you launch without custom implementation work? | Small teams need fast rollout, not long projects |
| Reporting clarity | Can you get overdue/missing lists quickly? | Makes weekly operations and audits executable |
For teams replacing spreadsheet logs, compare migration approach first: IT Asset Register Excel Alternative for Small IT Teams.
Step-by-Step Guide to Managing Shared Tools
Step 1: Audit All Tools
- List all hand tools, power tools, and machines.
- Note purchase dates, conditions, and replacement costs.
Step 2: Label Each Tool
- Apply QR or barcode stickers to all items.
- Use metal or tamper-proof labels for tools exposed to heavy use.
Step 3: Set Up a Digital Register
- Import tool data into inventory software.
- Create categories for hand tools, power tools, machines, and consumables.
To keep categories consistent (and reports reliable), define a simple class structure and naming rules: Asset Class Segmentation for Reporting: A Practical Guide.
Step 4: Implement Check-In/Out
- Require members to scan tools when borrowing.
- Track who has which tool and for how long.
To reduce friction and prevent missed scans, use a streamlined checkout flow (especially in high-traffic tool rooms): Designing an Asset Checkout Flow UX That Works.
If your main issue is booking windows, return deadlines, or no-shows for shared kits, use: Equipment Reservation Rules: Best Practices for Shared Assets.
Step 5: Train Members
- Show how to scan tools.
- Emphasize responsibility and proper return policies.
Step 6: Schedule Maintenance
- Log service intervals for machines (e.g., CNC maintenance every 6 months).
- Track broken tools to repair or replace promptly.
Benefits of Digital Tool Tracking
Reduced Losses
Every item is traceable, reducing the chances of missing equipment.
Fair Accountability
Members know they’re responsible for borrowed tools, improving care.
Lower Replacement Costs
Fewer lost or damaged tools = smaller budgets spent on replacements.
Increased Member Satisfaction
Tools are available when needed, reducing wait times and frustration.
Better Resource Planning
Reports show which tools are most in demand and which are underused.
Example: Community Makerspace
A community makerspace with 80 members struggled with:
- Missing hand tools every week.
- Broken 3D printers without repair logs.
- Complaints about unreturned equipment.
After switching to InvyMate’s QR-based tool tracking:
- Every item received a QR code label.
- Members scanned tools when borrowing.
- Admins viewed usage history and overdue items in real time.
- Lost tools dropped by 70% in six months.
Best Practices Checklist
- Label every tool with a QR or barcode.
- Keep a central digital asset register.
- Train members on check-in/out procedures.
- Track consumables separately to prevent shortages.
- Schedule and log equipment maintenance.
- Run quarterly audits for accuracy.
Common Mistakes to Avoid
- Only tracking large machines — small tools add up in cost.
- Skipping audits — data becomes unreliable over time.
- Using only paper logs — they’re slow and error-prone.
- No clear policies — without rules, members don’t feel responsible.
Next Step for Your Team
If you want to validate this workflow in your own workshop, use this path:
- Review workflow fit: How it works
- Start with your real tool inventory: Start free trial
Conclusion
Managing shared tools in workshops and makerspaces is more than organization — it’s about ensuring fairness, reducing costs, and keeping members productive.
By labeling tools, adopting digital check-in/out systems, and running regular audits, you can transform chaos into efficiency.
Related reading
- How Coworking Spaces Can Track Furniture, Electronics, and Supplies
- Asset Tracking in Education: Lab Equipment, Tablets & Tools
- Facilities Management: Keeping Track of Shared Equipment and Rooms
- Equipment Reservation Rules: Best Practices for Shared Assets
- Asset Tracking in Educational Institutions (Schools & Universities)
- Healthcare Inventory Tracking: Why Accuracy Saves Money
Methodology
- This page was reviewed against adjacent InvyMate workflow pages and the external references listed below.
- Recommendations are written for practical asset-tracking operations and are intended to stay specific about workflow scope, tradeoffs, and implementation boundaries.
- This page was reviewed as a selection or evaluation guide, so recommendations are framed around fit, admin overhead, and execution realism rather than exhaustive vendor coverage.
Related Standards and Guidance
- FEMA Property Management Inventory Guidance · U.S. Government Accountability Office
- CIS Critical Security Control 1: Inventory and Control of Enterprise Assets · Center for Internet Security
Try InvyMate
Start tracking assets with QR codes and scheduled audits.